01 · The problem
One Photo, One Angle
- A product photo shows only one side of the object.
- You can’t turn it, look at the details or see how the parts fit together.
- Every new view or setting means a new photo shoot.
(Work) 05 · 3D design
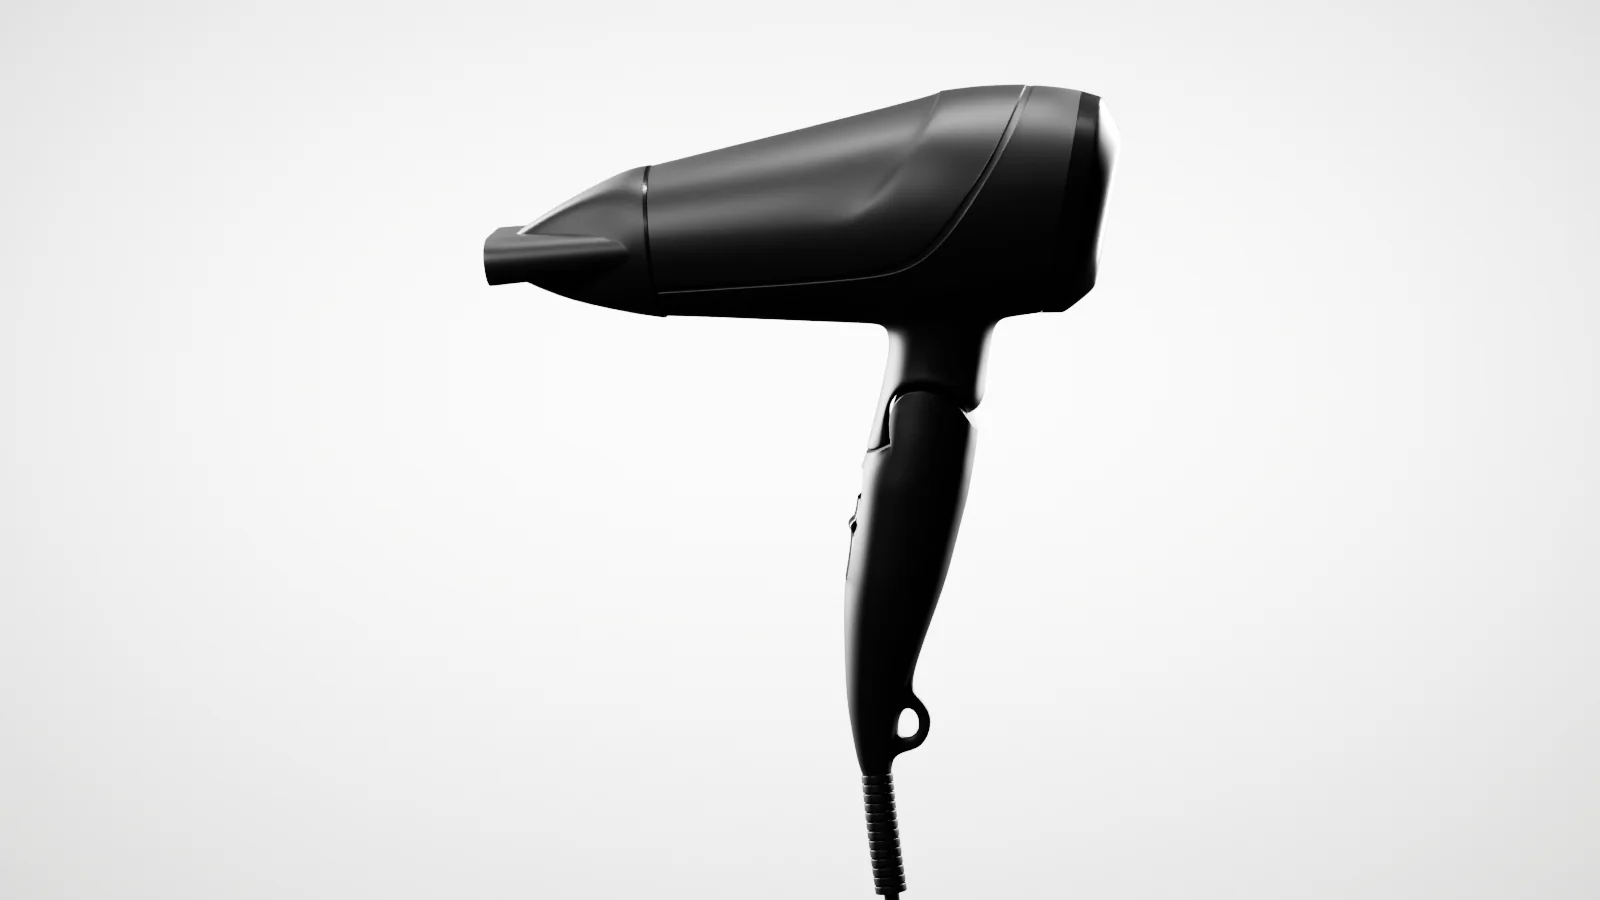
A 3D study of a compact travel hair dryer: modelled, lit and rendered in Blender from a single product photo.
Personal project · product visualisation
(The question)
How much of a product can you show from a single photo?
(The story in 24 seconds)
01 · The problem
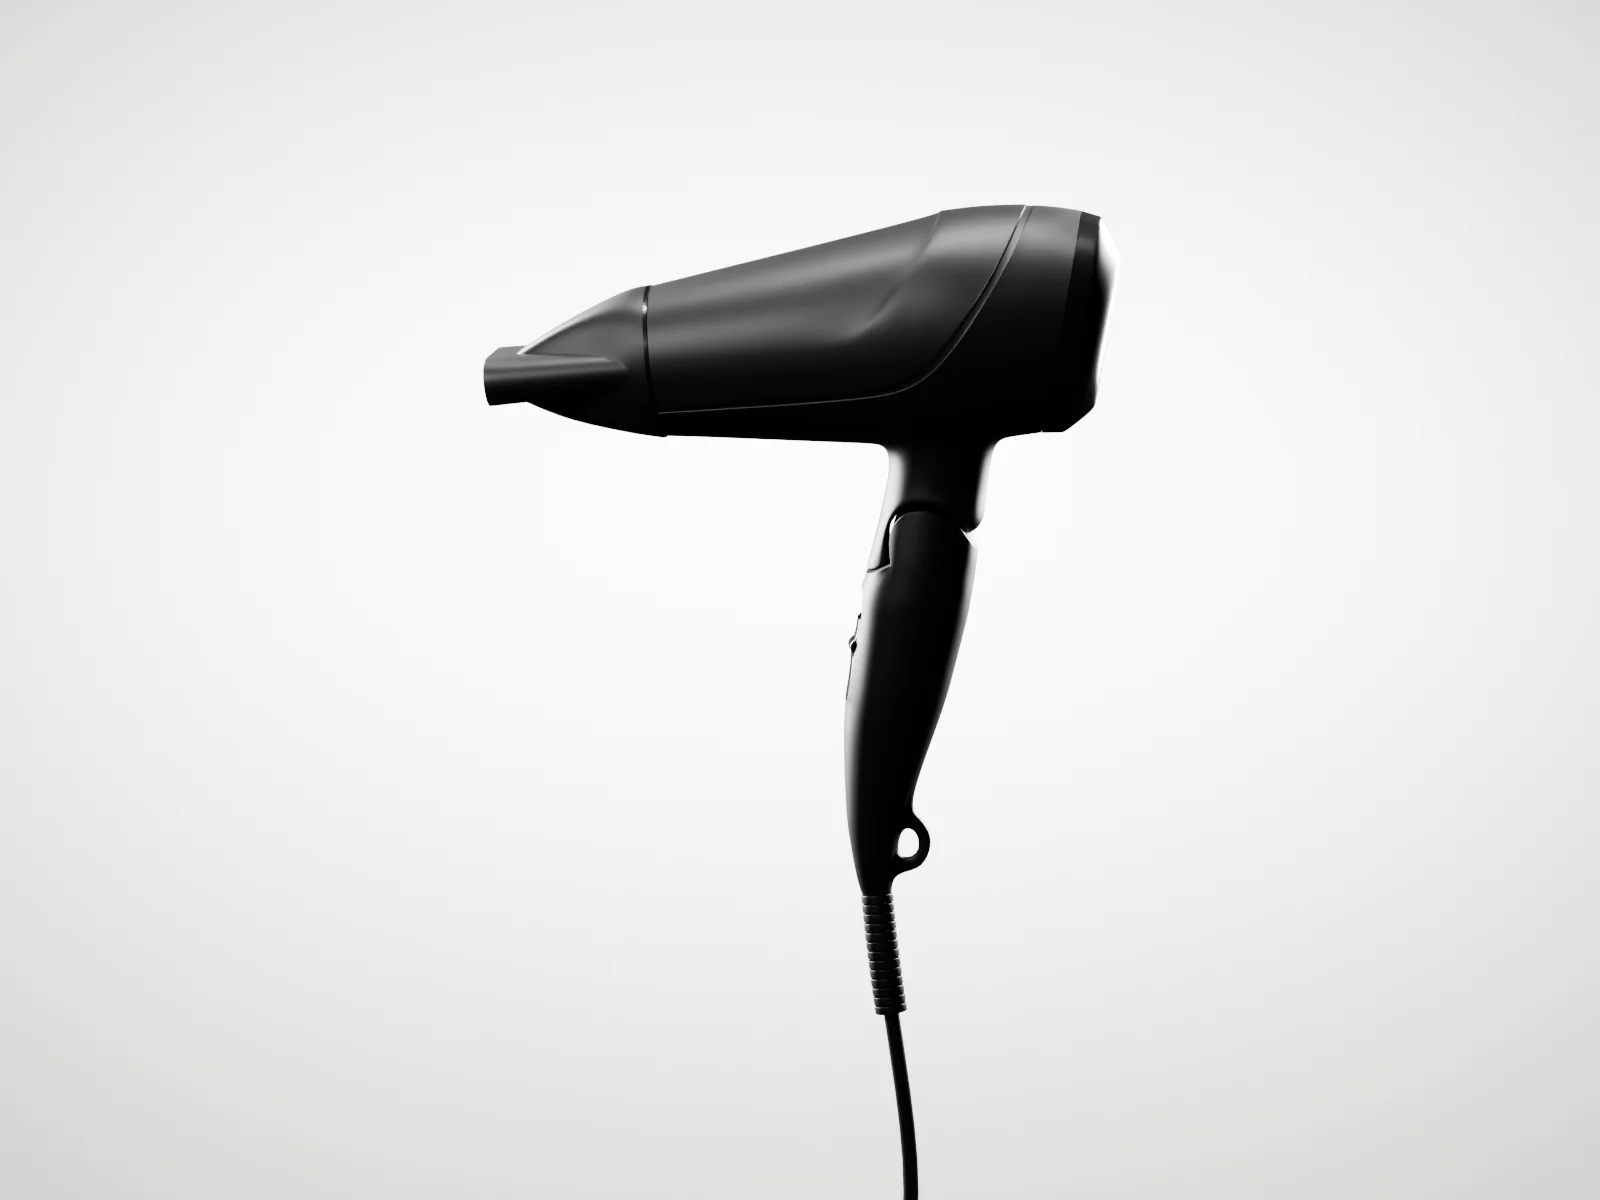
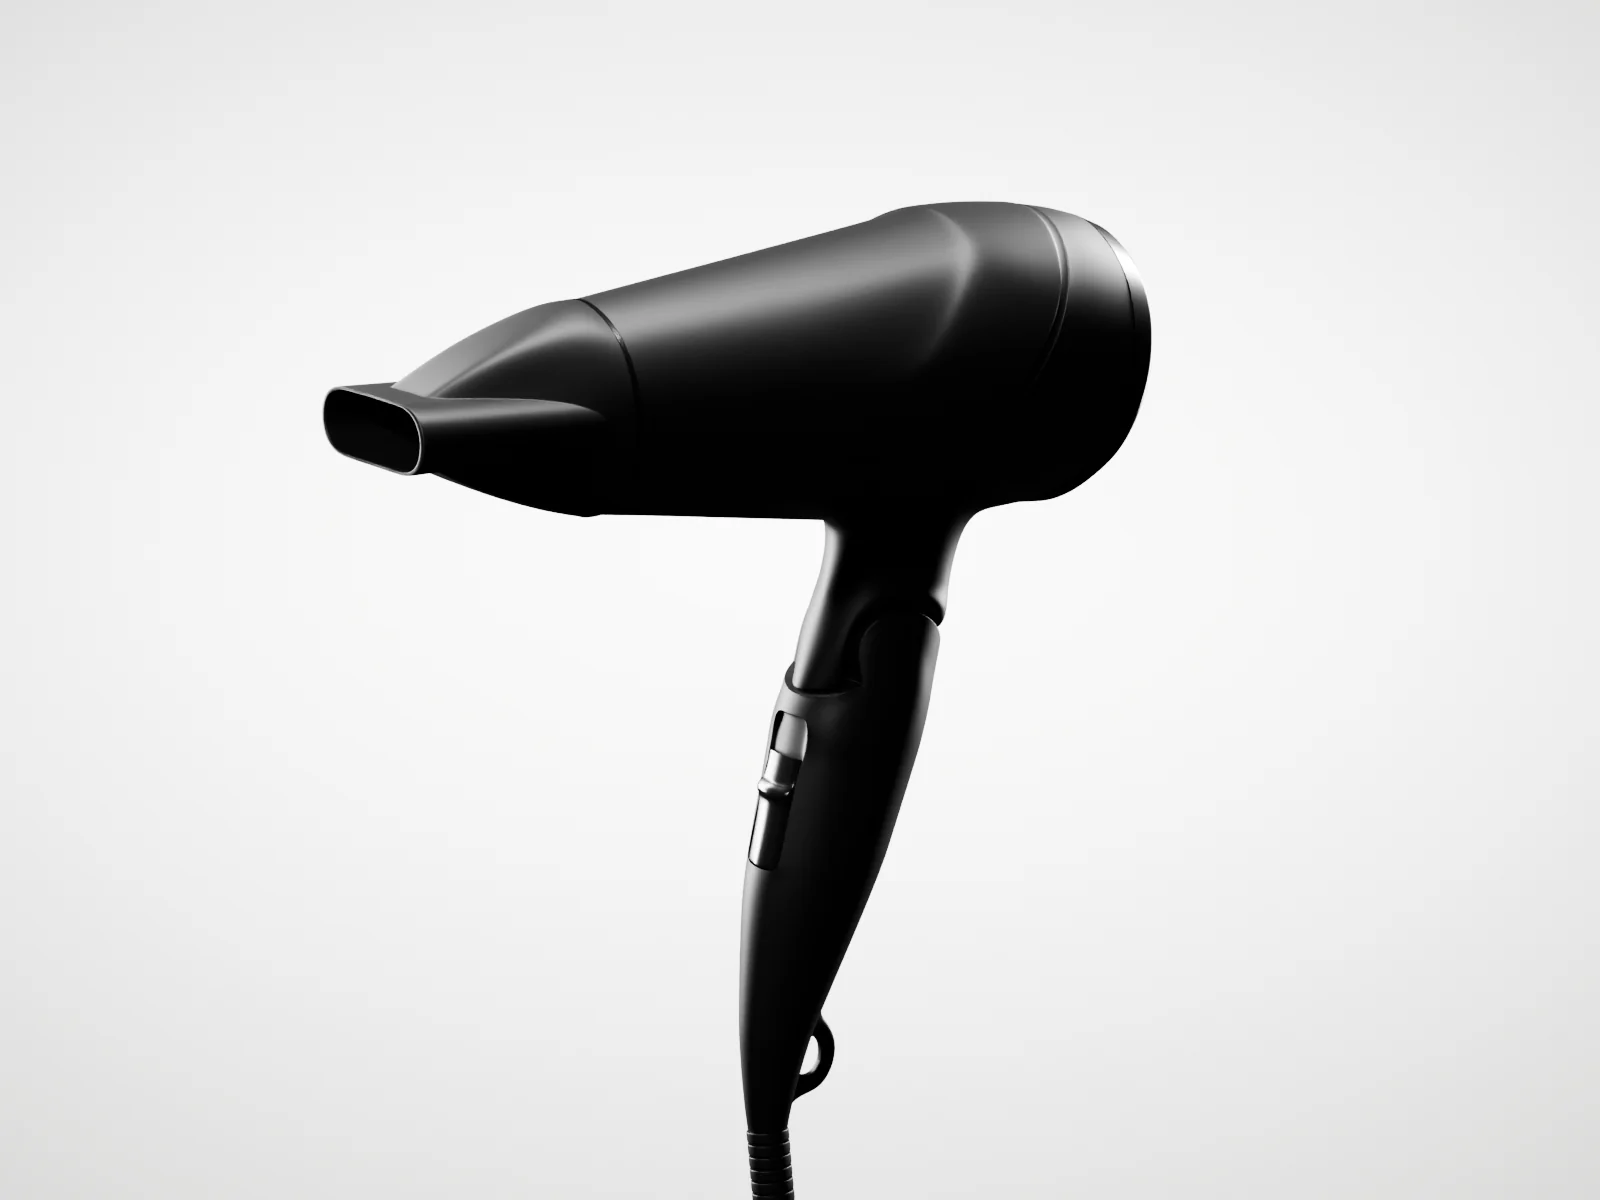
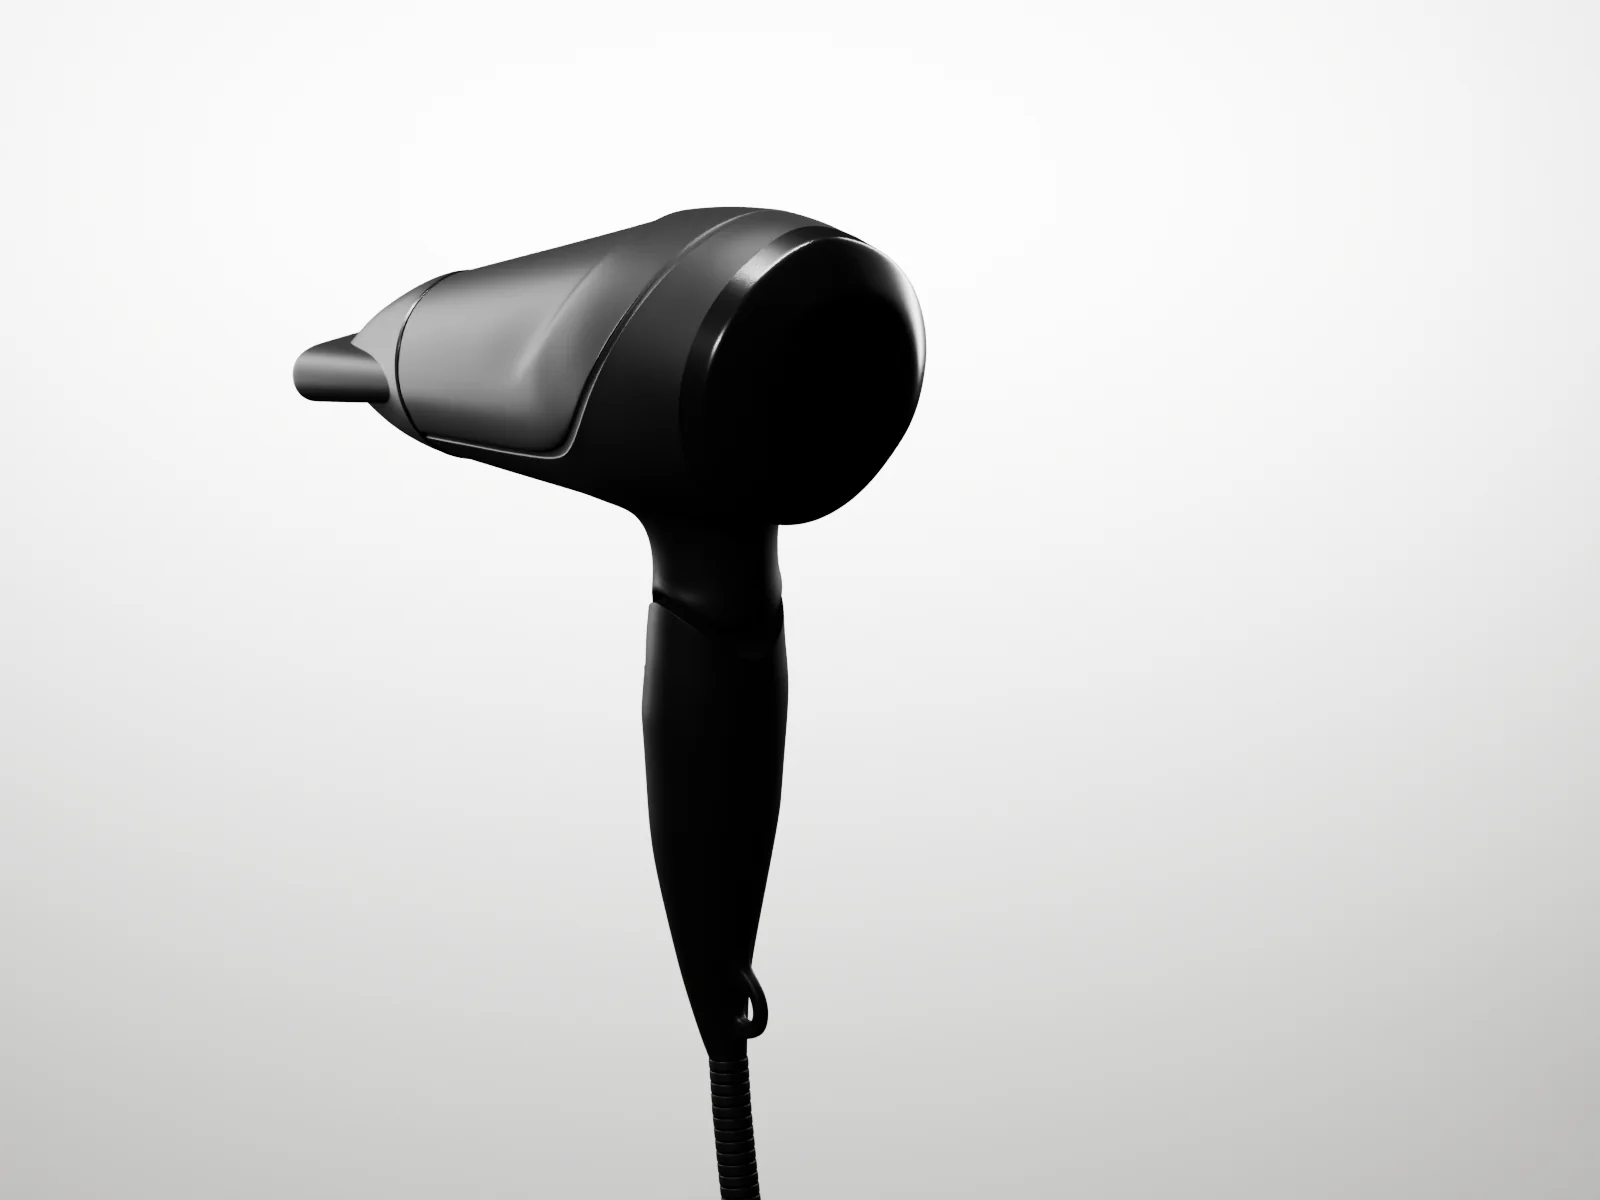
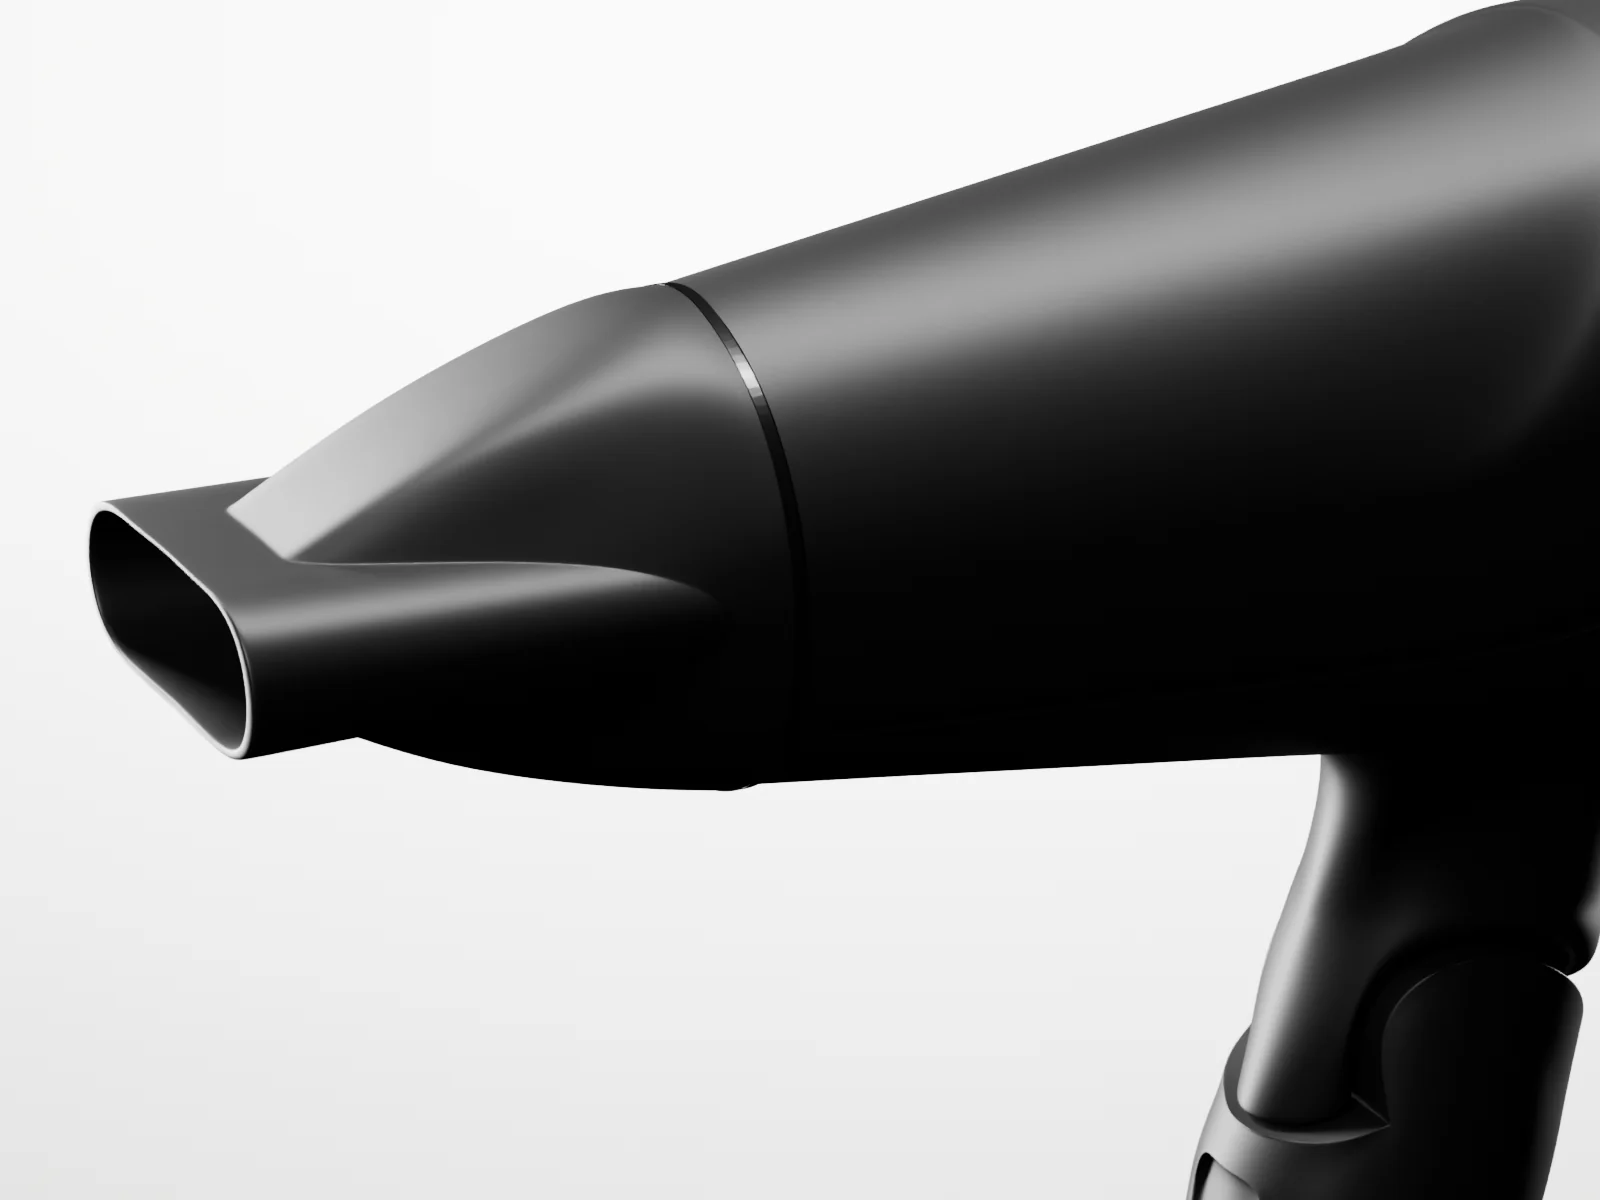
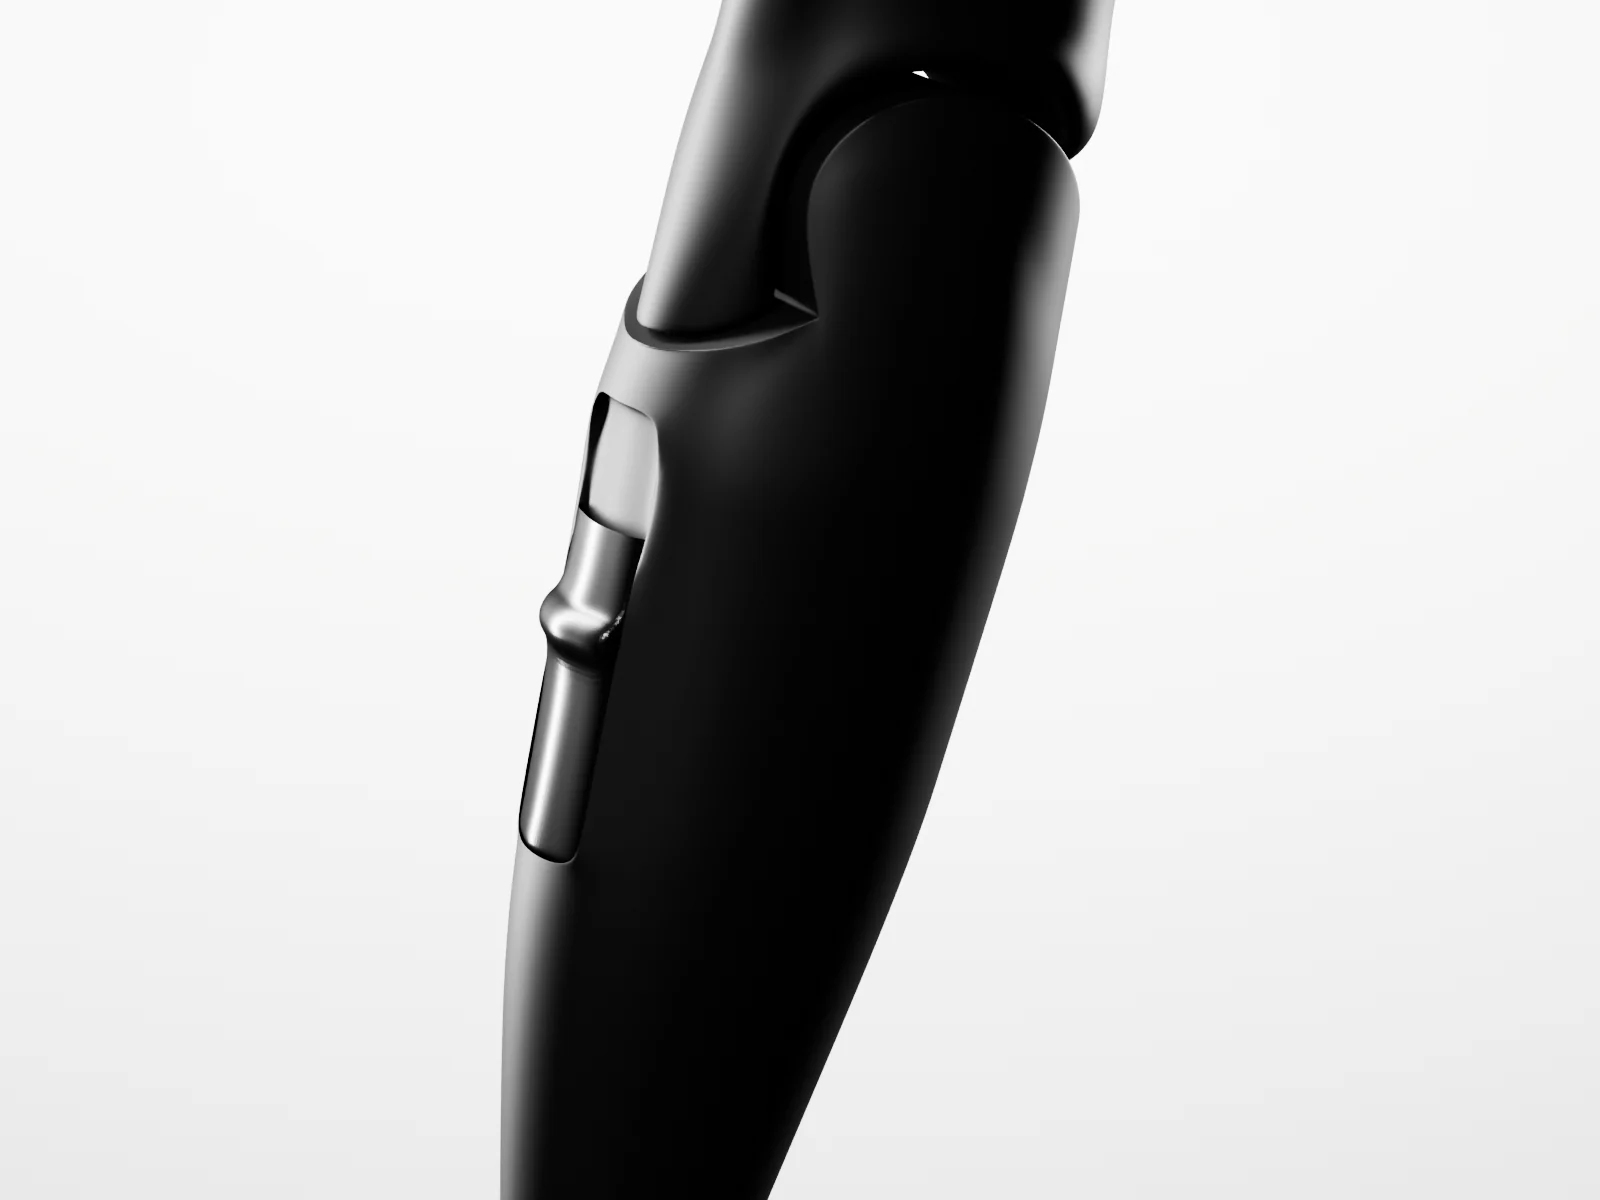
A short film. It starts with a single product photo of the hair dryer, seen from one side only. The photo turns into a grey clay 3D model in the same position, then into the finished black model in studio light. The model turns a full 360 degrees, followed by close-ups of the nozzle and the switch, and the film ends on the finished render.
01 · The problem
The solution
Context
A personal exercise: rebuild a real product in 3D, as close to the original as possible, and present it like a studio product shot.
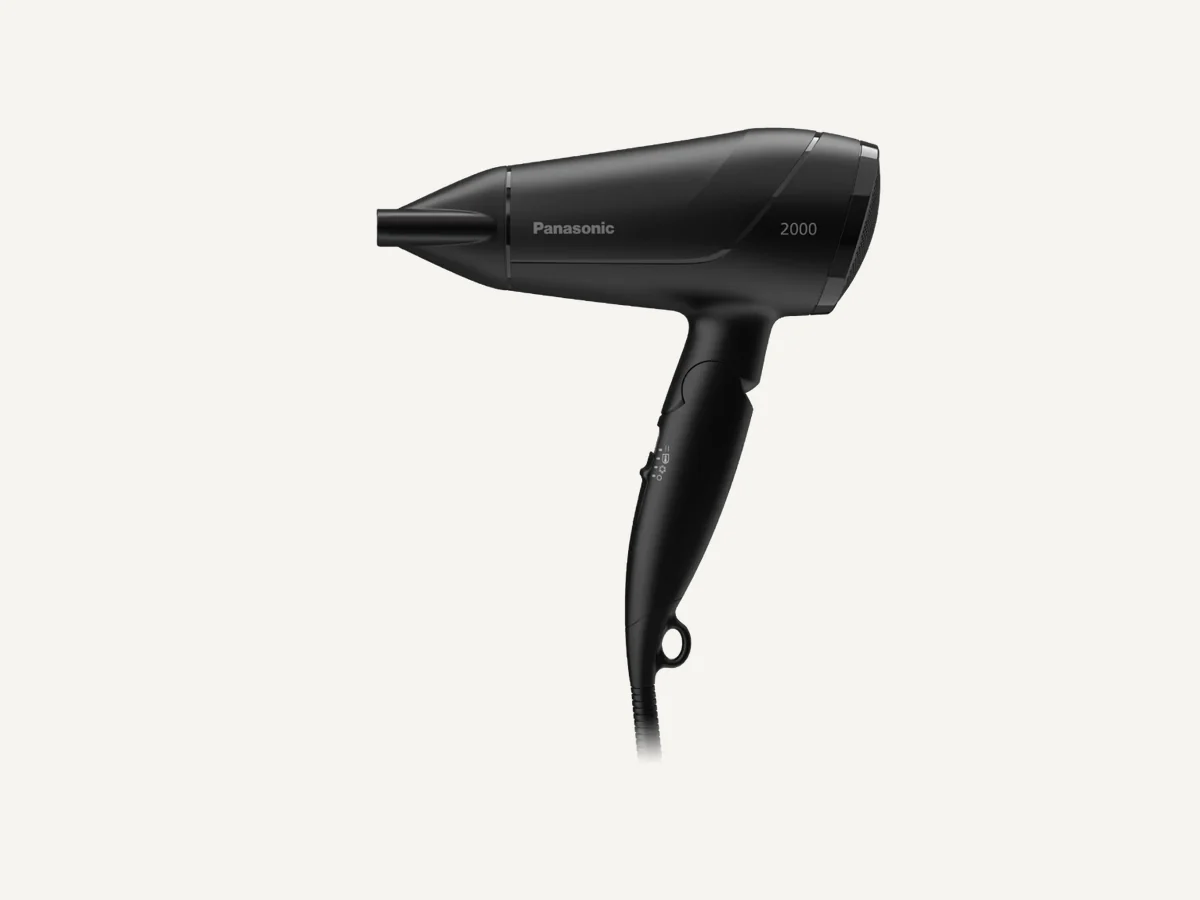
One product photo of the Panasonic EH-ND65, a compact 2000 W travel hair dryer with a folding handle.
Correct proportions, clean surfaces and materials that read as real black plastic.
A personal project, not commissioned by Panasonic. The extra views and the turntable are rendered from the same model.
02 · My role
I modelled the hair dryer on my own in Blender (the body, the folding handle, the nozzle and the cable) and set up the materials, lights and camera for the final renders.
03 · Process
Everything started from a single side view. I used it to set the proportions: the length of the body, the angle of the handle and the shape of the nozzle.
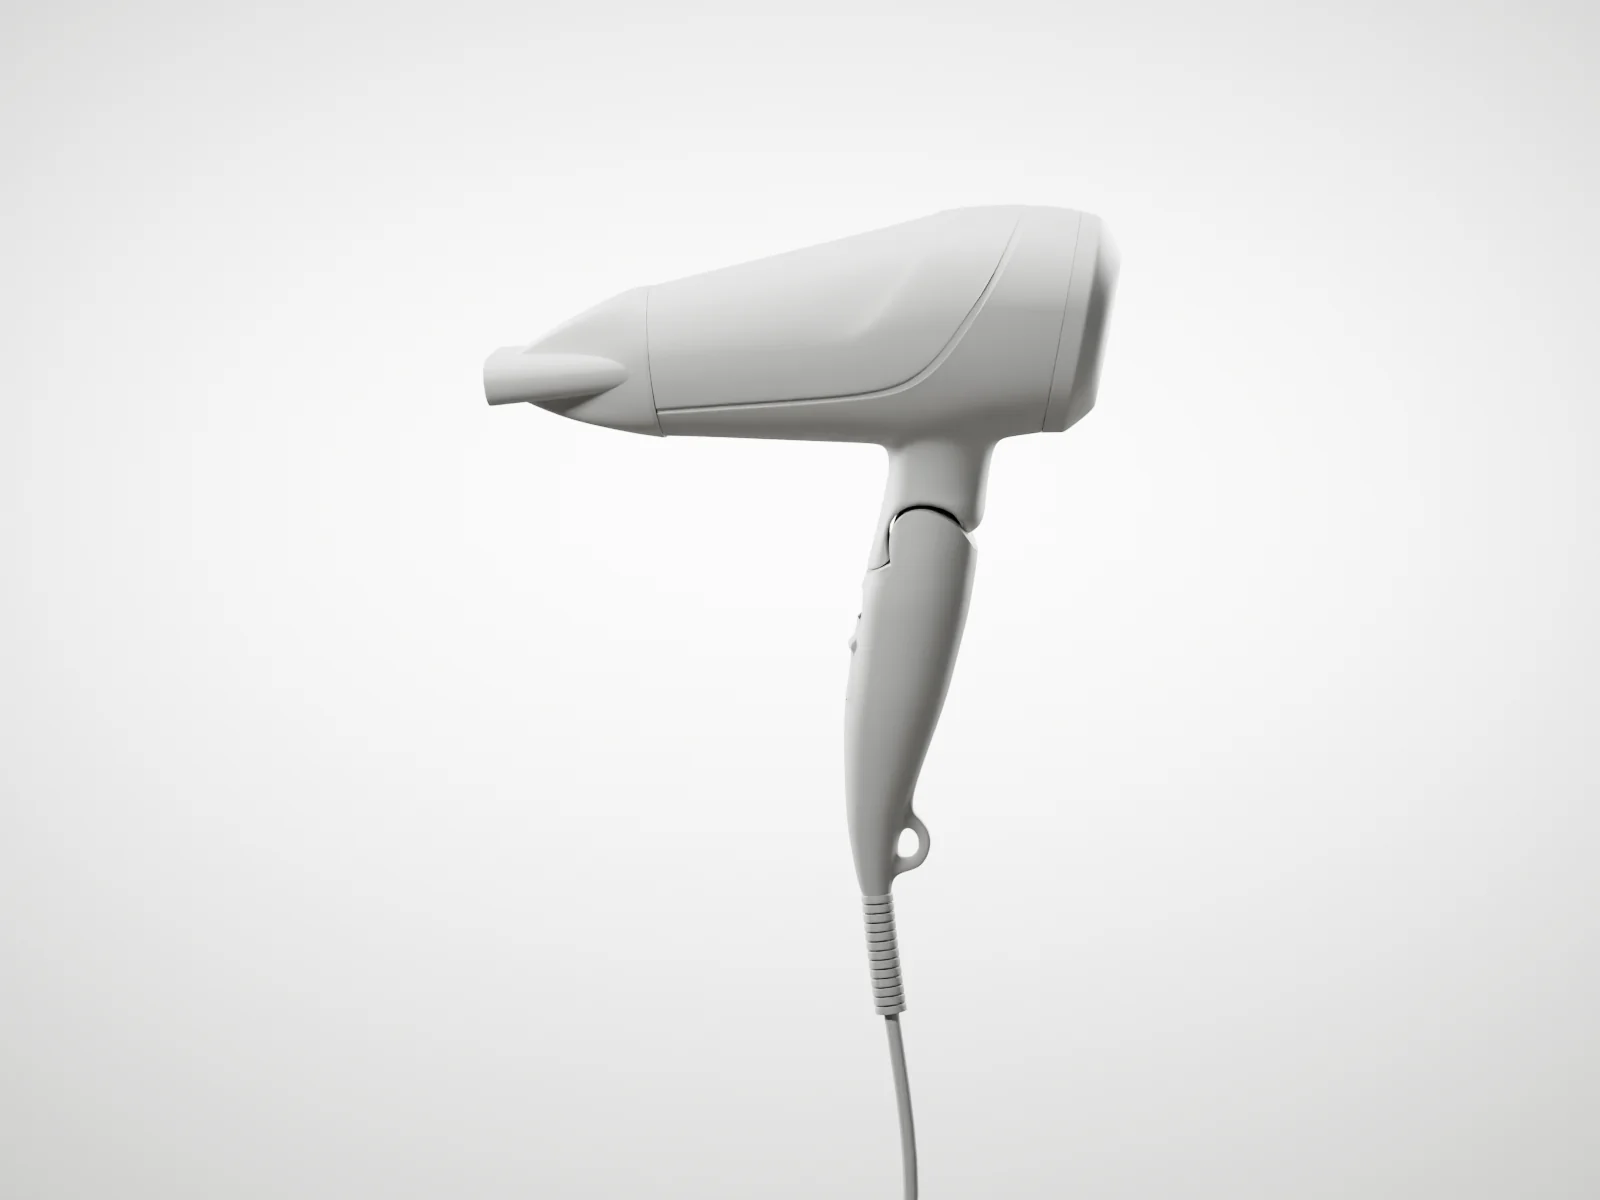
I blocked out the main volumes and refined them into smooth surfaces, then added the details that make it read as a real object: the seam on the body, the ring between body and nozzle, the switch and the hanging loop.
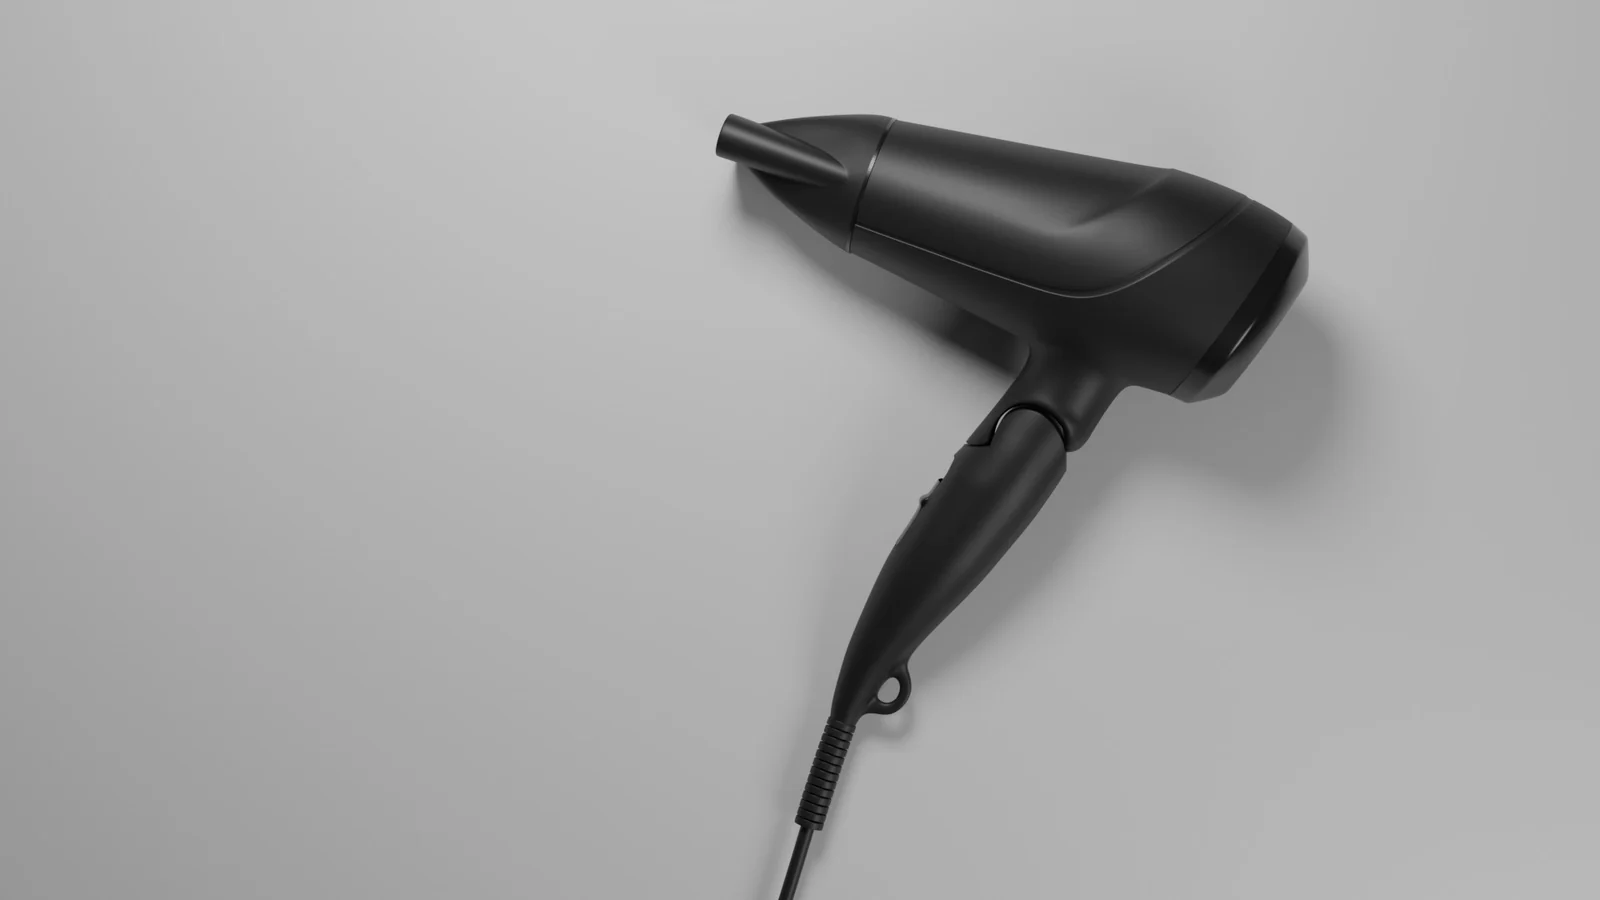
Two black plastics: a soft matte for the body and handle, and a gloss for the ring, the rear cap and the switch. On a black object the shape only shows where the light falls, so a large softbox and two strip lights draw its edges.
The solution
04 · Outcome
A finished model that can be shown from any side, ready for new scenes or animation.
05 · Reflection